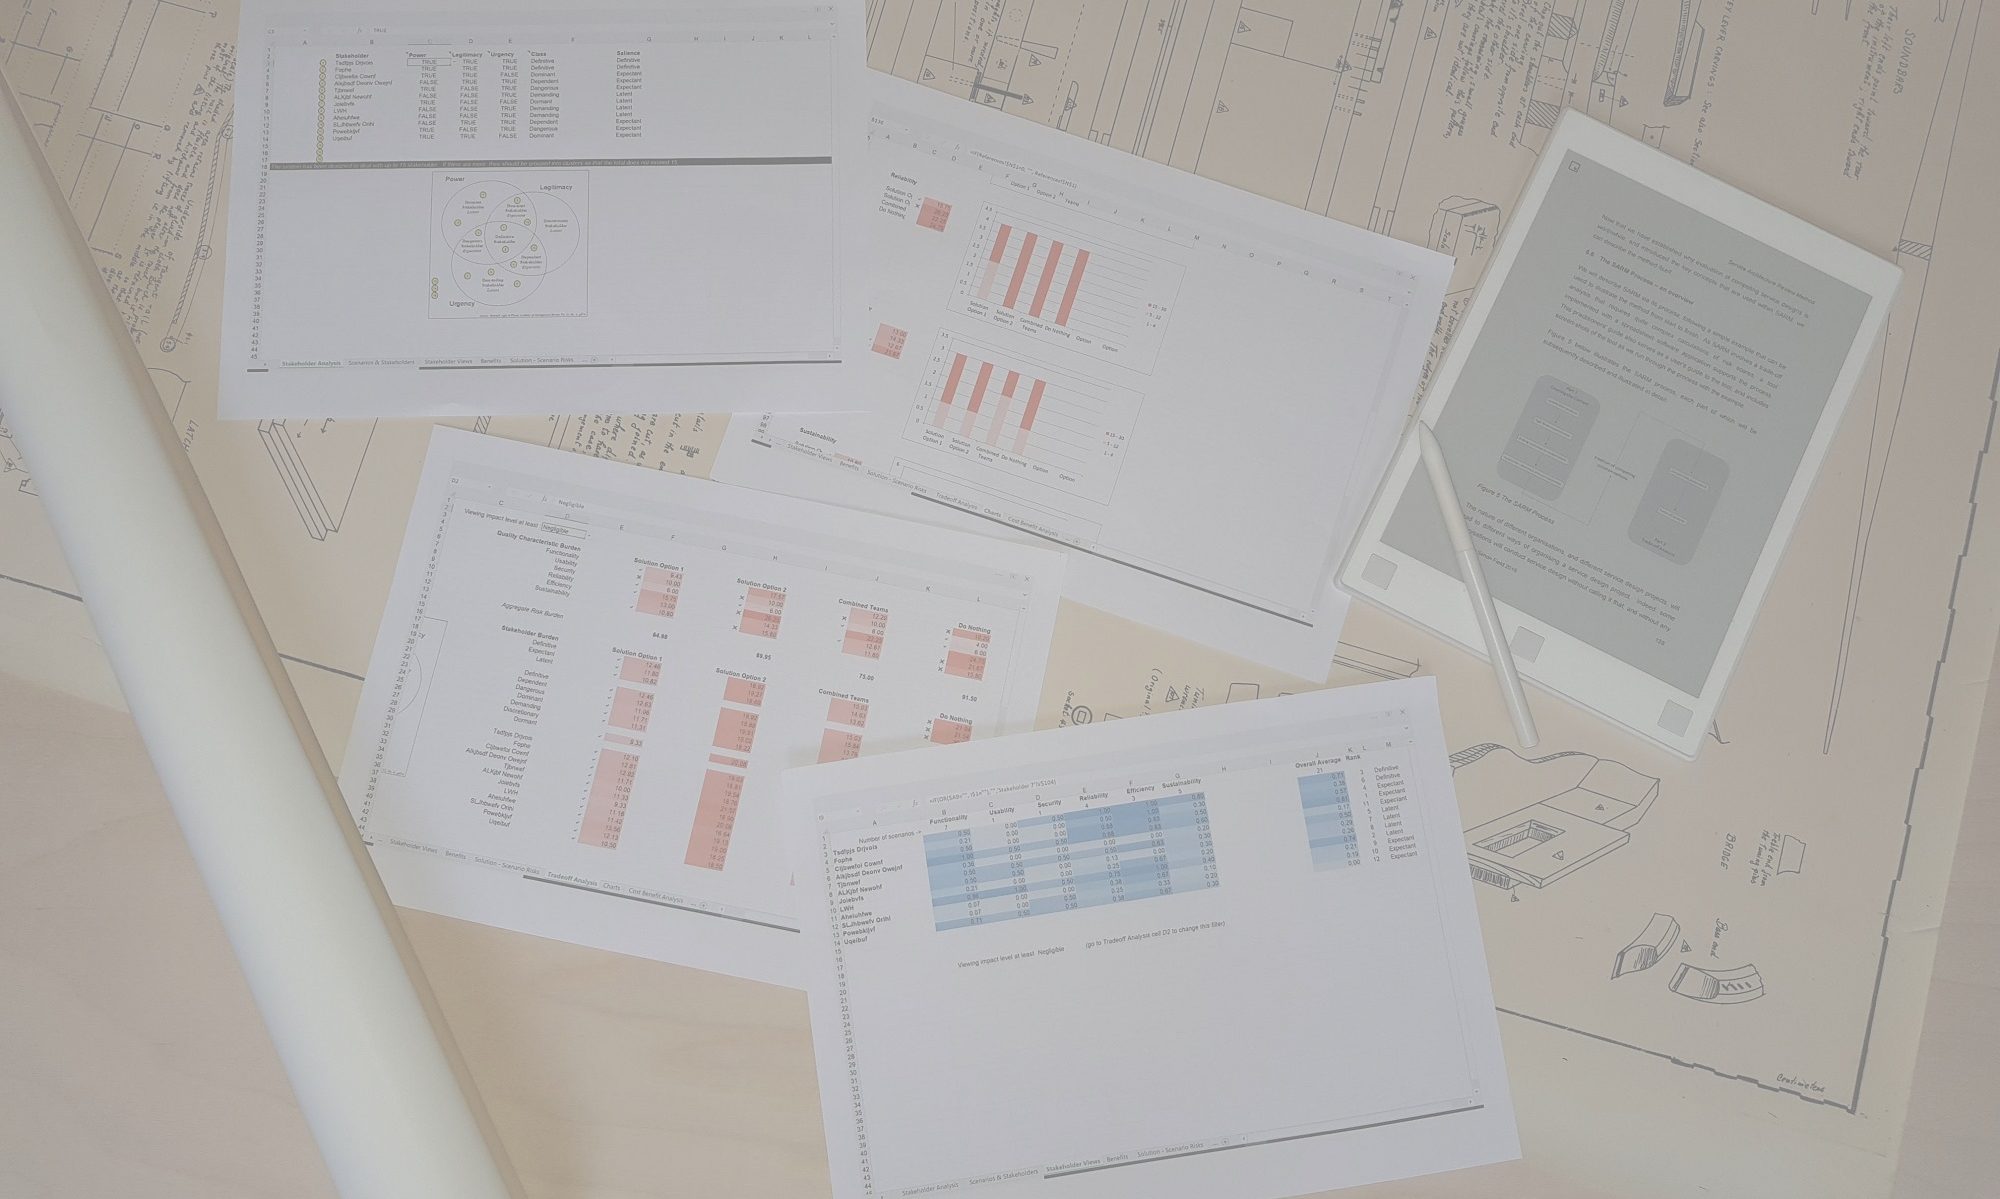
This worksheet corresponds with the solution risk assessment activity of Part 2 of the SARM Process. It contributes to the trade-off analysis workshop where the competing solution options are presented, discussed, and evaluated.
Row 2 contains six column headers, each labelled Option. You should rename these with the names of your solution options, starting from cell E2 and working across to the right. Changing the column header causes the column below to become available for input. You cannot evaluate more than six competing solution options, and you should not insert new columns or rows into this worksheet, as this would upset the linkage of information across all the worksheets.
From Row 4 below, each row represents a requirement, with the requirement descriptions appearing in column D (taken from the ‘Context‘ worksheet). The body of this matrix is used to capture the likelihood of each solution option satisfactorily achieving each requirement. It is recommended that the workshop should consider each requirement in turn, and for each requirement, discuss and answer the question:
What is the likelihood that this solution option will satisfactorily achieve this requirement?
The appropriate cell allows the user to choose from the likelihood text descriptions that have been defined in the Risk Table. However, the observant reader will notice that the question being asked here is about the likelihood of success, whereas the risk model considers the likelihood of failure. The reason for inverting the question is that experience has shown that this is an easier question to pose and answer, and of course the system can easily (and does) invert the answer in order to calculate the risk exposure when applying the Risk Model for the trade-off analysis.
Once the workshop participants have agreed a likelihood value for each requirement / solution option combination, and the matrix has been filled with their decisions, this worksheet is complete, and the team can move on to the trade-off analysis activity.

